Did you know over 5 million Americans picked up woodworking as a hobby last year? Whether you’re looking to spruce up your home or craft personalized gifts, working with wood is easier than you think. With just a few basic tools and some creativity, you can turn raw materials into functional decor that impresses friends and family.
No need for fancy workshops or expensive supplies—these ideas focus on simplicity. From rustic spice racks to custom pet beds, each project builds confidence while adding charm to your space. Best part? Most can be finished in a single afternoon.
Even if you’ve never held a saw before, these designs grow with your skills. Start small, learn the basics, and soon you’ll be tackling more complex creations. Ready to turn scrap wood into something special?
Key Takeaways
- Beginner-friendly designs require minimal tools and materials
- Functional items like shelves double as stylish home decor
- Quick projects build foundational skills in under a day
- Affordable options use scrap wood or budget-friendly supplies
- Clear instructions and safety tips make learning stress-free
Introduction to Woodworking for Beginners
Ever felt the thrill of turning raw lumber into something useful? That’s the magic of woodworking—no prior experience needed. Start small, and soon you’ll be crafting pieces that surprise even yourself.
Why Start with Simple Projects?
Simple builds teach fundamentals without overwhelm. Think of them as skill boosters: mastering straight cuts today means angled joints tomorrow. Quick wins keep motivation high.
Pine and plywood are ideal starter materials. They’re affordable, easy to cut, and forgiving for minor mistakes. Skip the fancy hardwoods until you’ve got a few projects under your belt.
Essential Tools for Beginner Woodworkers
A basic toolkit won’t break the bank. A $20 drill/driver handles most tasks, while clamps and a sander round out your setup. Pro tip: Organize tools with DIY racks—it saves time and frustration.
Avoid glue fails! Water-resistant wood glue is a must for kitchen items. And never skip sanding—rough edges ruin even the simplest designs.
Laser cutters like xTool S1 add precision for decorative touches, but they’re optional. Focus on hand tools first to build core skills.
1. Kitchen Essentials: Functional and Stylish Projects
Your kitchen deserves more than mass-produced plastic—wood brings warmth and function. These projects blend utility with craftsmanship, turning everyday tools into conversation starters.
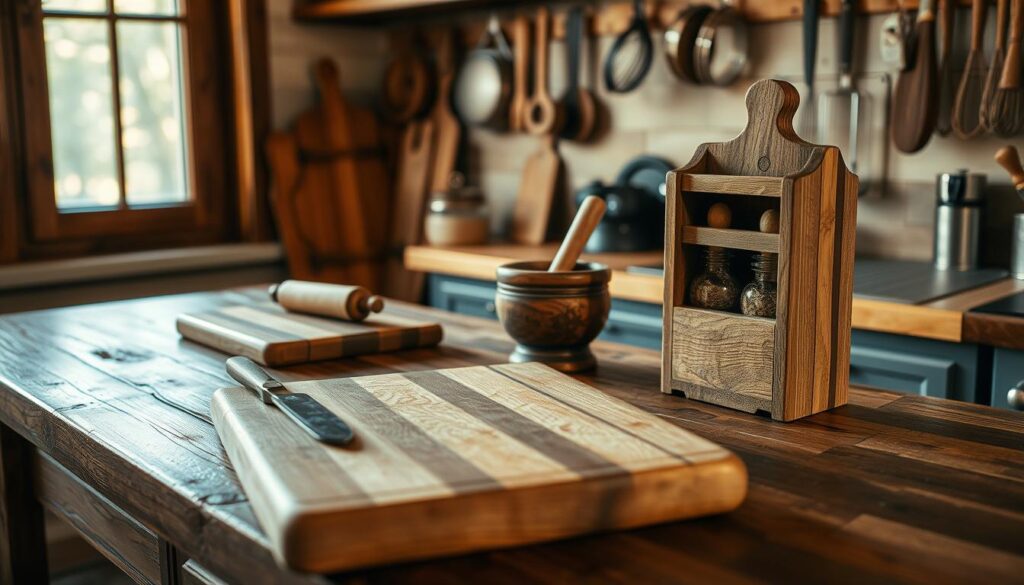
Wooden Chopping Board and Serving Tray
A butcher-block style board is a perfect starter project. Use ¾” hardwood like maple or walnut, alternating grains for visual pop. Dry-fit pieces before gluing to ensure seamless joints.
Pro tip: Mineral oil finishes keep it food-safe. Want dual use? Add handles to transform it into a rustic serving tray.
DIY Spice Rack for Organized Cooking
Tired of digging for paprika? A rotating spice carousel holds 18 bottles with lazy Susan hardware. Forstner bits create clean holes for labels.
Bonus: Laser-etch names directly onto the wood for a pro touch. It’s the way to keep flavors within reach.
Simple Knife Block for Safe Storage
Ditch flimsy sleeves—craft a storage block with saw kerfs for blades. Include a hidden slot for a sharpener. Use scrap wood to match your kitchen’s design.
Water-resistant polyurethane protects against moisture. Pair it with a DIY utensil holder for a cohesive look.
2. Entryway and Home Organization
Clutter-free entryways start with smart woodworking solutions. These builds turn tight spaces into functional zones while keeping your home stylish. Best part? Each project uses basic supplies and solves real-life messes.
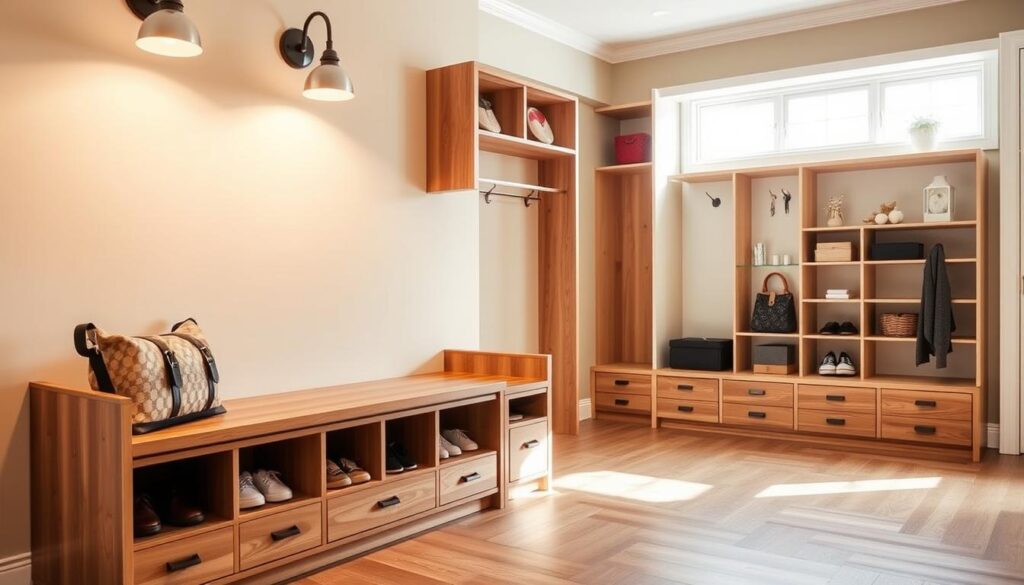
Shoe Storage Booster Stool
Kill two birds with one stool—store shoes and reach high shelves. Use ¾” plywood and 8d finish nails for a sturdy frame. The hidden compartment fits six pairs, perfect for small entryway areas.
Pro tip: Add felt pads to the bottom to avoid scuffing floors. Paint it to match your decor or leave it raw for a rustic vibe.
Wall-Mounted Coat and Hat Rack
Ditch the pile of jackets by the door. A custom rack with hooks keeps everything tidy. Use stained wood for warmth, or go modern with black iron hardware.
Make it modular—swap hooks for knobs or baskets. Mount it securely into studs using 2½” screws. No more “where’s my keys?” panic with a matching organizer below.
Behind-the-Door Shelves for Extra Storage
Maximize unused space with 4″ deep shelves. Ideal for books, toiletries, or shoes, they tuck neatly behind doors. Use 2½” wood screws for a wobble-free hold.
Bonus hack: Attach rubber bumpers to prevent wall dings. For renters, try tension rods instead of screws—no holes, no fuss.
- Build a mail station from leftover wood—slots for letters, hooks for keys.
- Use a stud finder to avoid drywall anchors (or tap the wall—hollow sounds mean no stud).
- Stain or paint all pieces at once for a cohesive look.
3. Quick and Easy Furniture Projects
Skip the IKEA trip—craft custom furniture with just a few cuts and screws. These builds focus on speed and stability, turning basic lumber into functional pieces. No fancy tools needed—just a drill, saw, and creativity.
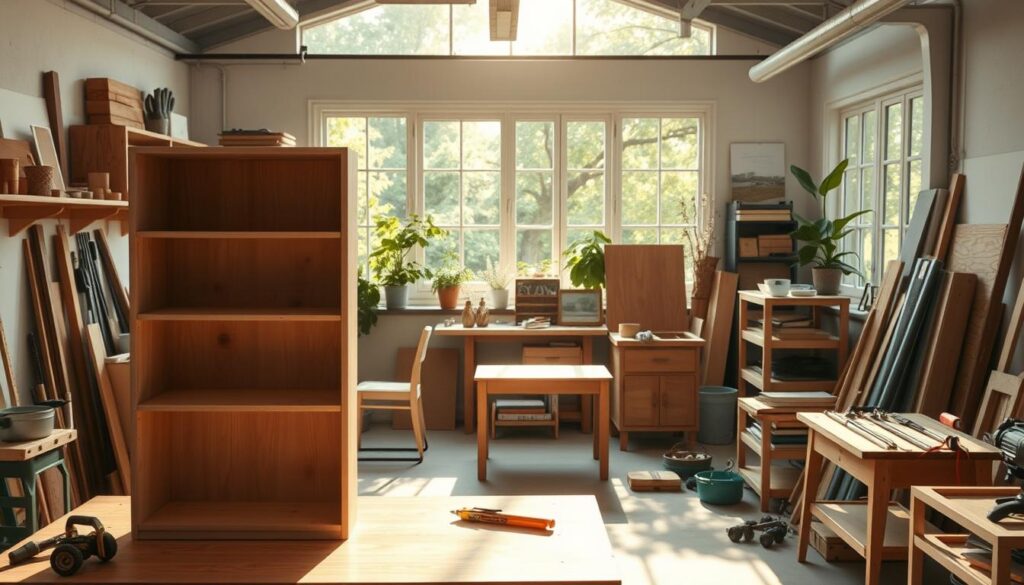
Build a Wooden Bench in Less Than a Day
The Leopold bench is a classic for a reason. Two boards and 18 screws create a sturdy seat. Use pocket-hole joinery for hidden fasteners—no complex angles required.
Pro tip: Sand edges smooth and add outdoor-grade paint for patio use. Hairpin legs upgrade the style instantly.
DIY Step Stool for Multi-Purpose Use
Need a kitchen helper or plant stand? An adjustable-height stool solves both. A plate jointer ensures wobble-free assembly. Non-slip treads keep it safe.
Bonus: Paint the steps contrasting colors for a playful design. It’s the ultimate DIY hack for small spaces.
Rustic Tree Branch Shelf for Natural Decor
Foraged branches become floating shelves with wall anchors. Sand forks smooth for a seamless fit. Stain lightly to highlight the tree’s grain.
“Nature’s imperfections add character—knots and bends make each shelf unique.”
Pair with potted plants or books for organic decor. No two projects look alike.
- Repurpose fence boards into shabby-chic console tables
- Test weight limits with sandbags before final mounting
- Wood-burn patterns for personalized touches
4. Creative Home Decor Ideas
Blank walls are just unfinished masterpieces waiting for your touch. With basic wood scraps and imagination, you can craft decor that reflects your personality. These projects turn raw materials into gallery-worthy pieces—no fine art degree required.
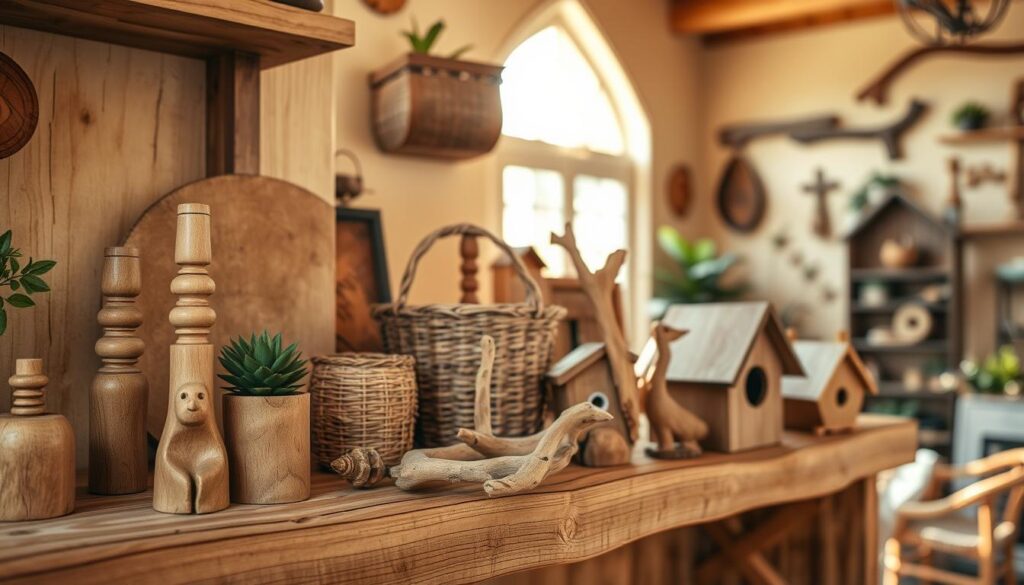
Wooden Wall Art for Personalized Touches
Geometric designs make striking statement wall art. Cut different wood types into triangles, then arrange them in dynamic lines. Stain each piece contrasting colors for depth.
Pro tip: Use painter’s tape to plan layouts before gluing. For modern flair, pour colored resin into carved grooves.
DIY Light-Up Christmas Wall Decor
Holiday cheer gets an upgrade with laser-cut plywood trees. Adhere LED strips to back channels for magical glow. The hidden battery pack keeps designs sleek.
“Measure twice, cut once—especially when working with lighting circuits.”
Try snowflake patterns or initials for personalized decor. Removable hooks make storage simple.
Scrap Wood Table Runner for Rustic Charm
Turn leftover 1×2 planks into heat-resistant centerpieces. Alternate wood tones and sand edges smooth. For summer, stain light pine; switch to walnut for winter gatherings.
- Build 3D sculptures by layering stained wood slices
- Age new planks fast with coffee stain washes
- Transfer photos onto wood using Mod Podge for custom signs
Every project here solves two problems: boring spaces and leftover materials. Your home becomes the gallery, and you’re the artist.
5. Practical Storage Solutions
Tired of clutter taking over your home? These DIY builds turn chaos into order with smart storage hacks. Each project maximizes space while adding a touch of personality to your organization game.
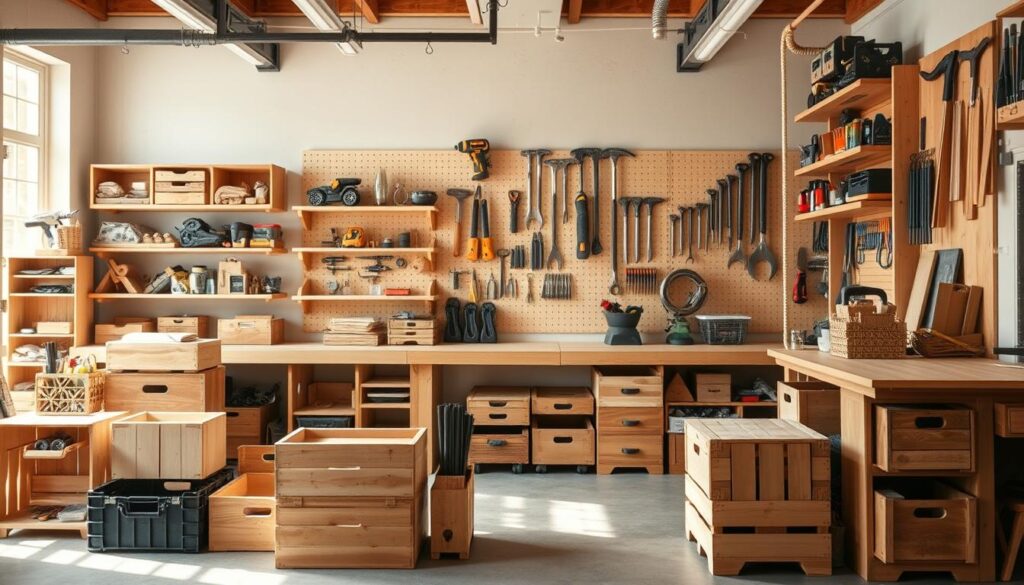
Magazine Storage Containers for Tidiness
Stop the paper pile-up with custom bins. Cut ¼” plywood and 1x4s into sleek rectangles—no fancy joinery needed. Label fronts with chalk paint for easy sorting.
Pro tip: Add casters to create rolling carts. They slide under tables when not in use. It’s the perfect way to tame magazine madness.
Two-Story Closet Shelves for Maximized Space
Double your closet capacity with 12″-wide shelving. Wall anchors provide sturdy support for heavy items. Adjustable brackets let you customize heights as needs change.
Paint shelves white to brighten dark corners. For extra function, add hanging rods below. Suddenly, that cramped closet feels like a walk-in.
Stacked Recycling Tower for Eco-Friendly Homes
Sort trash in style with a vertical station. Build frames to fit standard Rubbermaid bins—one for paper, one for plastics. Add a compost drawer at the bottom.
Bonus: Stain the tower to match your kitchen cabinets. No more tripping over separate bins. Mother Nature approves.
- Repurpose old drawers into wall-mounted cubbies for small items
- Design under-stair storage with slide-out bins for seasonal gear
- Use chalkboard labels on rustic crates for pantry organization
Every project here solves two problems: wasted space and daily frustration. Your home stays tidy without sacrificing style.
6. Fun and Functional Kids’ Projects
Watch little faces light up with handmade toys they’ll treasure. These builds blend playtime with learning, using safe materials and clever design. Perfect for family crafting sessions or surprise gifts.

DIY Wooden Aircraft Toy
Laser-cut balsa pieces snap together like a 3D puzzle. Kids assemble wings and propellers—no glue required. Sand all edges smooth with 220-grit paper for worry-free play.
Pro tip: Let them paint the body with non-toxic acrylics. Add their name with wood-burning for a personal touch.
Emotion Chart for Kids’ Room
A sliding panel with engraved emojis helps toddlers express feelings. The maple base features routed grooves for smooth movement. Use food-safe beeswax to finish.
“Kids engage better with tactile learning tools—wood beats plastic screens every time.”
Hexagon Puzzle for Creative Play
Brightly painted tiles teach colors and patterns. Cut ½” plywood into interlocking shapes, then seal with child-safe varnish. Stores flat under beds when not in use.
- Build growth charts with milestone notches—update annually
- Name puzzles double as wall art when not being solved
- Use rubber edges on balance boards for safety
- Hide book nooks inside story stools for secret storage
Every project here makes a meaningful gift. The best part? Watching kids play with something you created together.
7. Outdoor and Garden Woodworking
Your backyard could use some handmade charm—let’s make it happen. These diy builds solve outdoor headaches while adding rustic style. From muddy boots to dark pathways, wood creates solutions that last.
Swedish Boot Scraper for Muddy Days
Tracked-in dirt ends here. This project uses 2x2s and galvanized screws for weather resistance. Angled slats trap debris underneath—no more crumbly sidewalks.
Pro tip: Add a brush strip for stubborn mud. It’s the gardener’s secret weapon.
DIY Solar Light Post for Garden Pathways
Light up walkways with repurposed 4×4 scraps. Top with a solar lantern from any hardware store. The design hides wires while withstanding rain.
“Pre-drill holes to prevent splits in pressure-treated wood.”
Birdhouse for Feathered Friends
Cedar or redwood resists rot naturally. Make the entrance hole species-specific—1¼” for chickadees, 2½” for bluebirds. Mount it predator-high (6+ feet) with a downward tilt.
- Build squirrel-proof feeders with metal baffles
- Stencil herb names on cedar planter boxes
- Foldable Adirondack chairs store flat in sheds
Every garden deserves personalized touches. Start small, and soon you’ll be crafting entire outdoor suites.
8. Gifts That Impress
Nothing beats the joy of giving something handmade—these woodcrafts turn ordinary gifts into cherished keepsakes. Whether it’s a baby shower or anniversary, woodworking adds that personal touch store-bought items can’t match. No more last-minute gift cards when you can create meaningful gifts that get displayed for years.

Personalized Baby Photo Frame
Laser-cut birch plywood makes this frame extra special. Engrave the baby’s name, birth date, and weight along the border. Use ⅛” wood for a lightweight yet sturdy piece.
Pro tip: Back it with acrylic instead of glass—safer for nursery walls. Pair with a growth chart ruler for a complete gift set.
Wooden Rose with Custom Engraving
CNC-carved petals create stunning realism in maple or cherry. The stem twists open to reveal a hidden compartment—perfect for jewelry or notes. Stain the petals darker at the edges for a natural design.
“Engrave coordinates of a special place on the leaf—it’s the detail that brings tears.”
Handmade Wooden Gift Box
This isn’t just packaging—it’s part of the present. Hidden magnetic closures keep treasures secure while looking seamless. Line it with velvet for jewelry or leave raw for rustic decor.
Use contrasting wood types for the lid and base. A simple walnut and maple combo elevates even small diy gifts inside.
- Engrave anniversary dates on keepsake boxes with a wood burner
- Build wine holders with glass storage compartments
- Puzzle boxes add suspense to proposal rings
- Monogrammed trays double as wall style pieces
9. Office and Workspace Upgrades
Your workspace deserves more than generic plastic organizers—wood adds warmth and efficiency. These diy solutions turn cluttered corners into functional space with personality. Best part? Each project uses basic tools and scraps you might already have.
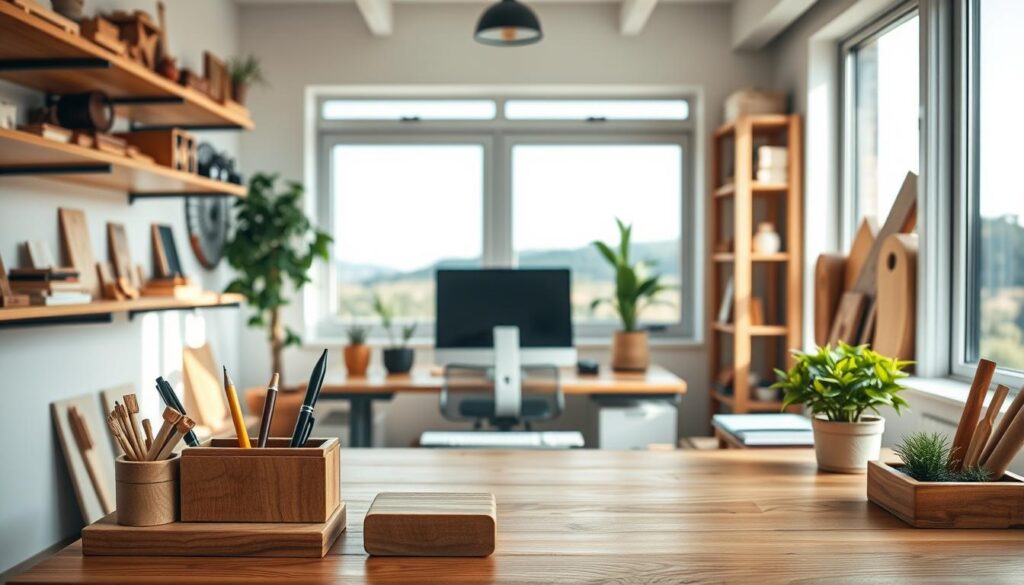
DIY Laptop Stand for Ergonomics
Say goodbye to neck strain with an angled stand from scrap wood. Cut two trapezoidal sides and connect them with a base plate—no fancy joints needed. Pro tip: Add rubber grips to prevent sliding during video calls.
Adjust the angle between 10°-20° for optimal viewing. Sand all edges smooth and finish with Danish oil for a professional look. Your shoulders will thank you.
Sliding Bookends for Organized Shelves
Tame unruly books with slot-cut bookends that hug shelf edges. Use ¾” plywood and a jigsaw for clean lines. The hidden slot design keeps them invisible when not in use.
Bonus: Paint them to match your decor or leave natural for rustic charm. No more toppling stacks during coffee breaks.
Phone and Picture Holder for Desk Decor
This dual-purpose design displays photos while charging your device. Carve a phone slot above a 4×6″ frame opening. Route cable channels underneath to hide cords.
“A clutter-free desk starts with smart storage—this holder solves two problems in one.”
- Build monitor risers with hidden compartments for sticky notes
- Laser-cut calendar boards with marker storage grooves
- Assemble rolling printer carts with built-in paper trays
- Craft headphone stands with wireless charging pads
Every office upgrade here makes workdays smoother. Choose one and transform your way of working today. Need more inspiration? Your scrap pile holds endless possibilities.
10. Seasonal and Holiday Projects
Why buy disposable decorations when you can build timeless holiday treasures? These wood crafts add personality to every season—plus, they store flat for years of reuse. From laser-cut details to paint-friendly surfaces, each project brings the family together.
Laser-Cut Christmas Village
Create Santa’s workshop vibes with interlocking plywood houses. The diy kit-style design lets you customize roof colors and window shapes. Battery-operated tea lights make them glow like real winter cottages.
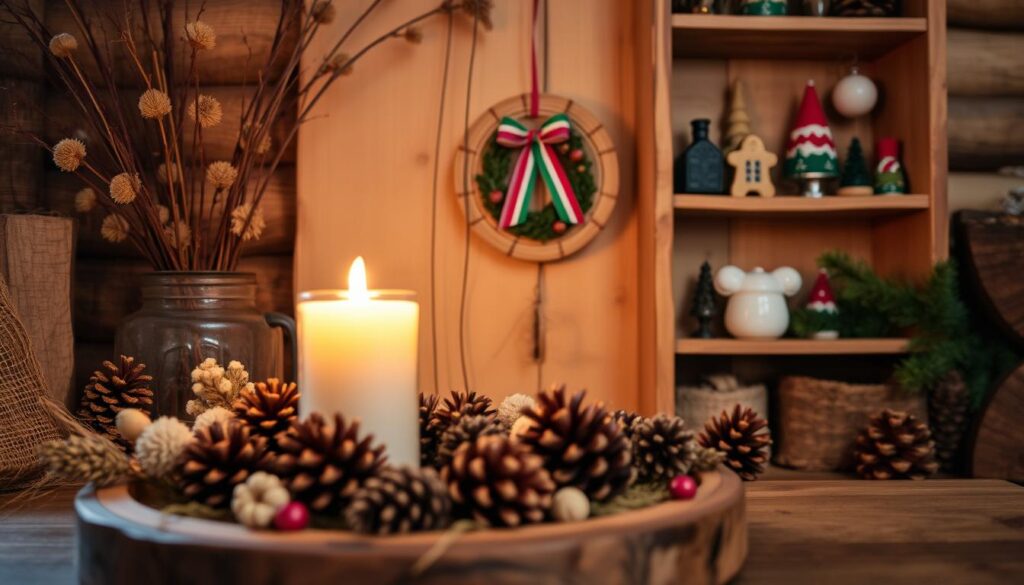
Stackable Snowman Blocks
4×4 post scraps transform into cheerful winter decor. Top with a fabric scarf and painted coal eyes—no two snowmen look alike. Kids love rearranging the pieces for new expressions.
“Seal outdoor pieces with spar urethane—it withstands freezing temps better than polyurethane.”
Layered Plywood Pumpkins
Fall vibes last all season with these weatherproof creations. Alternate stained and painted wood slices, then stack them on a dowel stem. Cluster them by the fireplace or front porch for instant autumn charm.
More ways to celebrate with wood:
- Rotate holiday mantel displays using interchangeable backdrops
- Carve shallow candy bowls for Halloween treats
- Build bunny-eared planters for Easter centerpieces
- Paint patriotic stars on cedar porch signs
The best part? These creations become family traditions—pull them out each year and remember the time you made them together.
11. Pet-Friendly Woodworking
Pets deserve custom solutions just as much as people do—woodworking makes it possible. These diy builds solve everyday pet problems while blending with your home decor. From mealtime to playtime, each project shows your furry friends some extra love.
DIY Dog Bowl Stand for Elevated Dining
Stop your pup from straining their neck with an adjustable feeder. Use 2×2 pine for the frame—cut legs to match your dog’s height (measure from floor to elbow). The way to build? Pocket screws create sturdy joints without visible hardware.
Pro tip: Route shallow bowls into the top board to prevent sliding. Stain it to match your kitchen cabinets for a seamless look.
Cat Perch from Scrap Wood
Leftover plywood becomes the ultimate sunbathing spot. Layer 12″ squares with carpet scraps for traction. Angle the design against a window for bird-watching bliss.
Bonus: Add sisal-wrapped posts to satisfy scratching urges. Mount it securely with heavy-duty brackets—no wobbly perches allowed.
Pet Toy Storage Bin
Tame the tennis ball chaos with a slanted-front bin. The 45° angle makes grab-and-go access easy for both you and your pet. Use ½” plywood and edge banding for splinter-free safety.
Line it with washable fabric for plush toys. Label compartments with paw-print stencils to keep chew sticks separate from squeakers.
- Build scratching posts with replaceable sisal rope sections
- Portion-controlled food stations using measured cups
- Suction cup window hammocks for apartment cats
- Decorative gates with bone-shaped cutouts
- Treat puzzles with sliding wood panels
- Ventilated carriers with removable bedding trays
12. Conclusion: Start Your Woodworking Journey Today
Now’s the perfect time to grab those tools and dive in. With just a few basic supplies, you can create functional, beautiful things—no prior experience needed.
Start with small projects like shelves or cutting boards to build confidence. A drill, saw, and sander are all you need for most beginner builds. Avoid rushing—measure twice, cut once.
Stuck for inspiration? Online communities like r/woodworking offer endless ideas. Share your creations with #DIYWoodSuccess to connect with fellow makers.
Ready for the next step? Try intermediate builds like floating desks or garden benches. The way forward is one project at a time. Your first cut is just the beginning.


Awesome https://is.gd/N1ikS2